When talking about invoices and invoicing in Brightpearl, it is important to understand there are two overlapping processes around invoicing. The first is an accounting “action” of marking the order as invoiced and sending it into the accounting system. The second is generating and invoice pdf and sending it to the customer. The act of generating the invoice (#2) also performs the action for accounting (#1) but doing the accounting action doesn’t necessarily do the generating.
The invoice PDF currently looks like this:

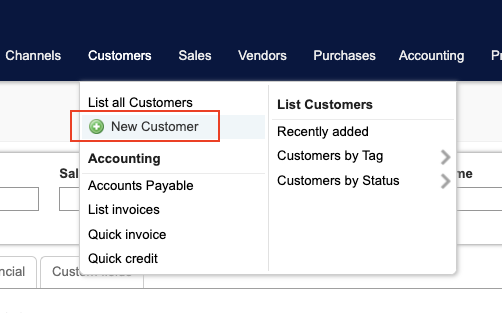
Contacts
Orders and Invoices are related to a contact. This contact is where some of the values on the invoice come from.
Addresses
The first things to be aware of is the Addresses (Listed on the invoice as “Bill To” and “Ship To”. When an order is created, the addresses of the primary contact are pulled onto the order (unless addresses are specified in a 3rd party app that is creating the order). The Invoice address = “Bill To” and the Delivery address = “Ship To”. These addresses are on the “Addresses” tab under the contact.

INCO Terms (custom field)
INCO Terms is a custom field on the Contact. It is found under the Custom Fields tab under “INCO Terms” sub tab. If set, this value shows up on the invoice next to PO Number.

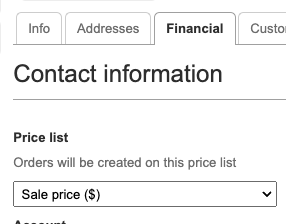
Financial Tab:
Under the financial tab is a handful of fields that are used.
Accounts email address: This is the address an invoice will be sent to if automated. If this value isn’t set it will default to the primary contact’s email address (set on the info tab).
Tax Number: If set, the Tax Number field causes the VAT Number field to show on the invoice next to the PO and INCO Terms sections.
Default Invoice Template: This is an optional field that could be set if you wanted a customer to receive a special invoice.
Credit Terms: This is used to print “Net X” on the invoice (where X is the number of days set).
Tax Code: While it doesn’t print on the Invoice, you could override the Tax Code for invoices created for this contact.

Info tab:
The Email address field is the fallback email address if the Account address (under the financial tab) is not set. This is the address the invoice will be sent to if the automation rules apply. It is also the address that is populated when you choose to email an invoice manually (although it can be edited at that time).
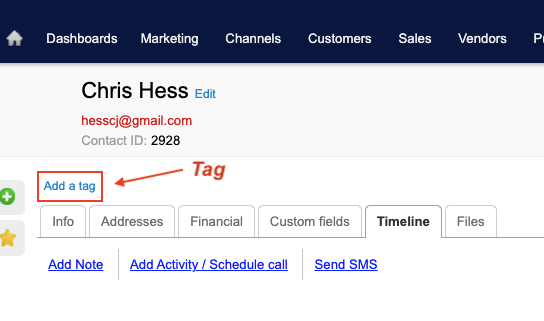
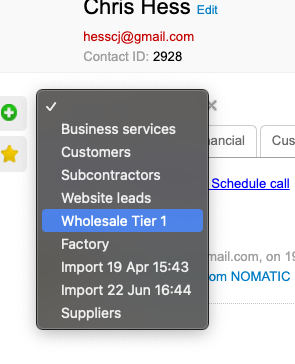
Tags
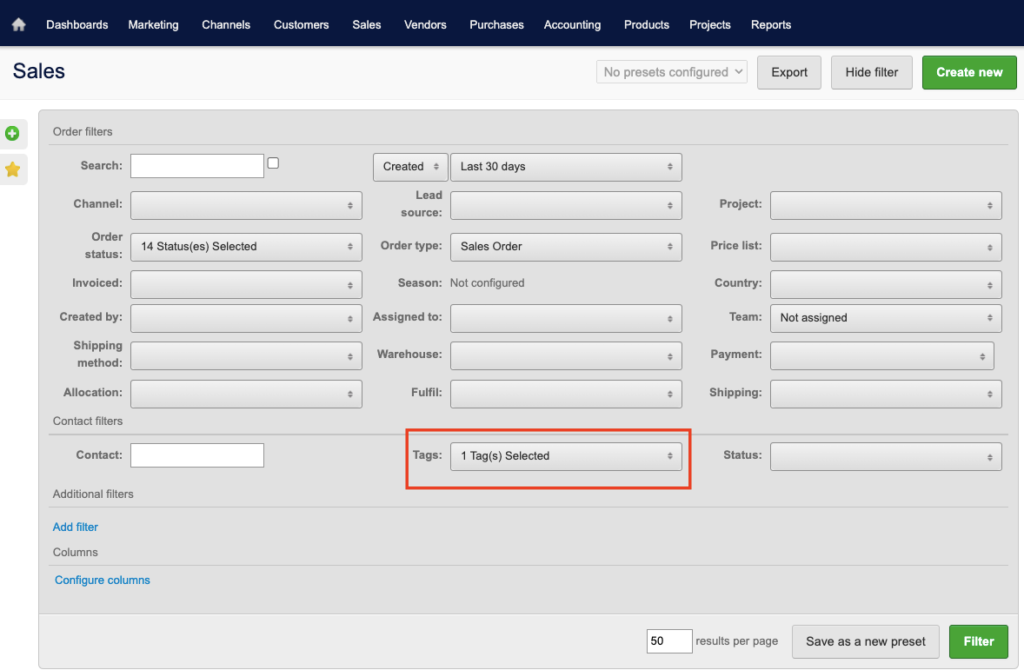
Contacts can be tagged by clicking the “Add a tag” link. These tags on a contact apply to any orders that are tied to that contact.
Current tags in use:
Ship Complete: This is used to signify this order will only automatically process through fulfillment if the full order is able to be fulfilled.
Send Invoice Email: This is used in the automation rules to send the pdf invoice email to the customer.
Send Tracking Emails: Not currently in use
Multiple Contacts
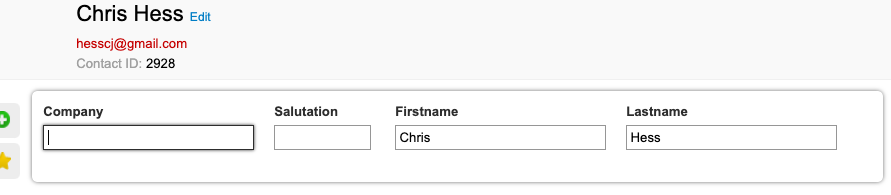
You can have multiple contacts associated together as a “company”. This is a loose association based on the contacts having the same “Company” field value. If there are multiple contacts, only the primary contact is related to the order.
See this help article for more details.
Orders
An order is tied to a contact. When an order is created, if no address details are supplied, the contact’s address details are copied to the order address.

Ship To and Bill To addresses
On the invoice, the “Ship To” address is the “Delivery Address” on the order and the “Bill To” address is the “Invoice Address” on the order. These are found under the “Addresses” tab.
Ship From (custom field)
On the invoice, under the invoice number, you will notice a “Ship From” field. This field is under the “Custom Fields” tab and will show up on the invoice when it is set.
PO Number
The PO Number on the Invoice is the Customer Ref. number listed on the Order.
Generating an Invoice
When you are on an order, you can use the Email/Print option to generate a PDF of an invoice. (Remember that the “Invoice/Un-invoice” button performs the accounting action of invoicing the order, not generating an order.)

When you click on the Email/Print button it will bring you to a screen where you can select to print (generate a pdf) or email. You can also change the template if there is another template you would like to use for this invoice/quote.

If you choose to Email, you can select the email addresses you want to send the message to. You will also be able to change the default subject and message body. The default is for the message to be attached to the email as a PDF but you can change that to put the invoice inline (HTML email) or attach the HTML as a file.

Automated Invoicing
From an accounting standpoint, the automation rules “Invoice” the order after all the products are shipped. If you select the tag “Send Invoice Email” on the contact, a PDF of the invoice as well as the default email, will be sent to the account emails/primary email address on file for that contact.